How to Improve Rental Listing Photos: 7 Proven Steps

Table of Contents
What You'll Need Before You Shoot Rental Listing Photos
How to Stage a Rental Property for Photos Without Overdoing It
The Best Lighting for Real Estate Photography: Timing and Technique
The Window Problem: How to Expose Interiors Without Blowing Out the View
Smartphone and Camera Settings That Fix Common Exposure Problems
Room-by-Room Shot List and Photo Order for Every Rental Listing
Interior, Exterior, and Neighborhood Shots That Renters Expect
Real Estate Photography Mistakes That Sink Rental Listings
How Many Photos to Include in a Rental Listing (and How to Order Them)
Editing, Virtual Staging, and Measuring Whether Your Photos Work
A Restrained Editing Workflow
Virtual Staging: When It Helps and How to Disclose It
How to Measure Whether Your Photos Are Actually Working
Conclusion: Turn Better Photos Into Faster Rentals
Frequently Asked Questions
Last Updated: October 5, 2026
What You'll Need Before You Shoot Rental Listing Photos
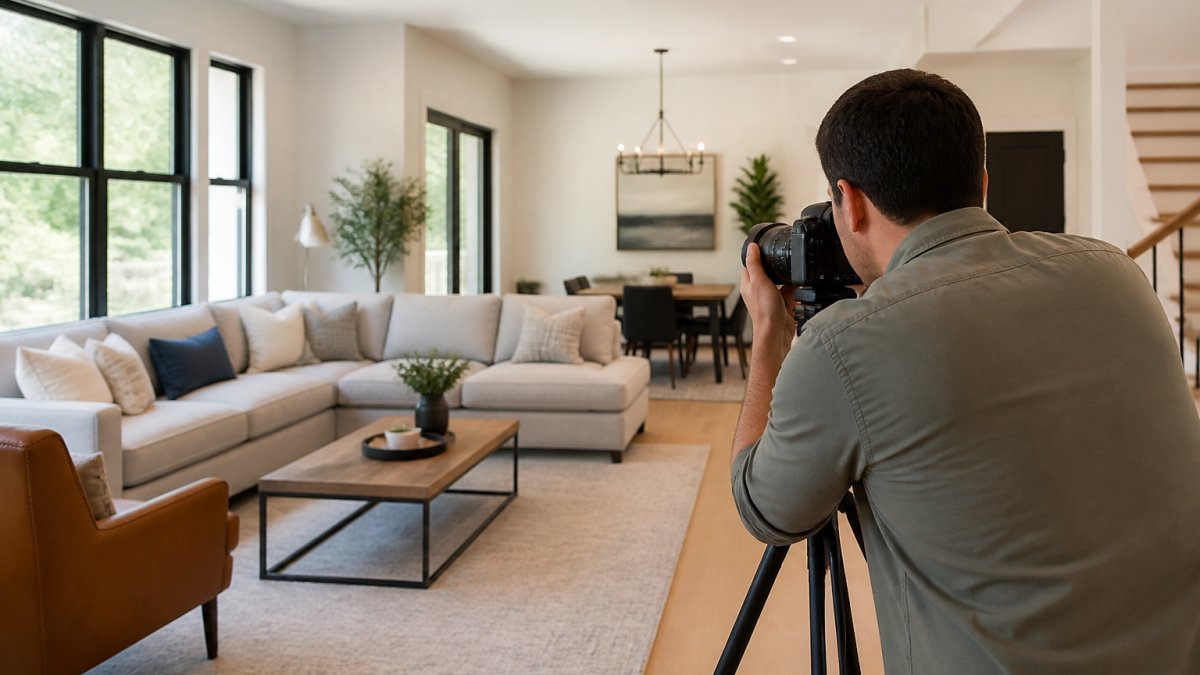
Good rental listing photos start with a plan, not a camera.
Most rental listing photos fail for boring reasons: bad light, a toilet seat left up, a trash can in frame. None of that is about talent, it's about prep.
So before you touch a camera, gather these basics:
A smartphone from the last few years, or a DSLR or mirrorless camera
A wide-angle lens (16-24mm on a full-frame camera)
A tripod or a steady surface
One more thing: confirm access. For occupied units, give tenants written notice and a clear time window. The Fair Housing Act guidance from HUD matters here too.
Pro Tip Shoot at eye level or slightly lower, around 1.2 to 1.4 meters. Too high and rooms look small. Too low and vertical lines bend.
How to Stage a Rental Property for Photos Without Overdoing It
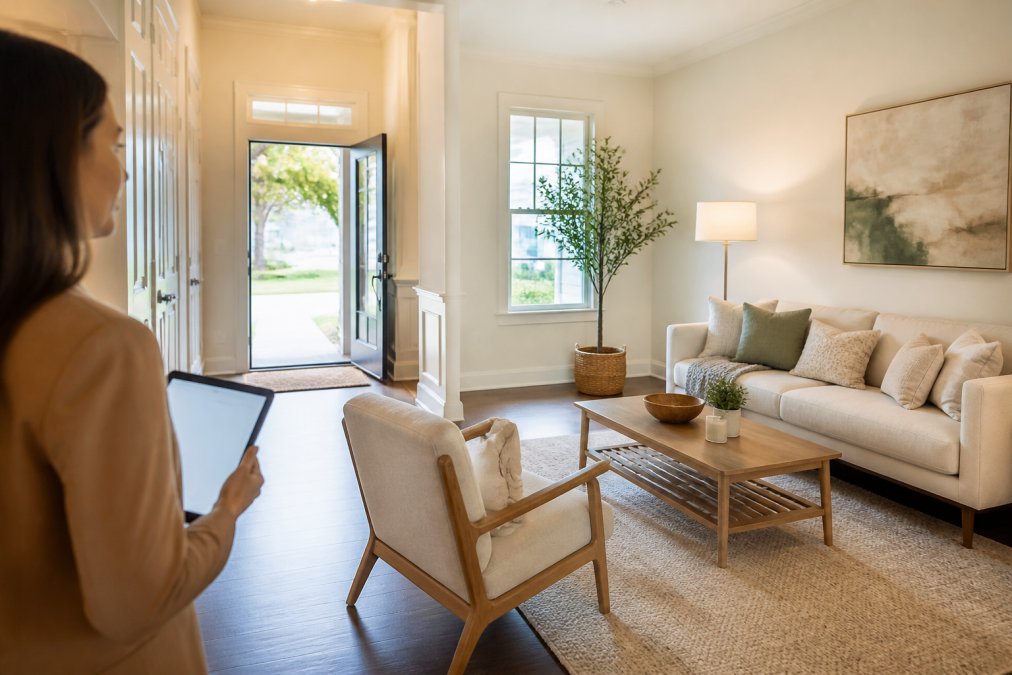
Staging a rental for photos means making it look lived-in but not personal.

Start with the three D's: declutter, depersonalize, and depersonalize again. Family photos, medication, mail, and religious items all come down. They date the space and raise privacy concerns.
Then add just enough furniture to show scale:
A sofa or two chairs in the living room
A bed with clean, neutral linens in each bedroom
A small table setting in the dining area
What most guides miss is restraint: a half-empty room reads as spacious, an overstuffed one as small, no matter how nice the furniture.
Watch Out Never leave valuables, keys, or documents visible in a shot. A single photo of a laptop and a stack of mail invites break-ins and tells renters the unit isn't secure.
The Best Lighting for Real Estate Photography: Timing and Technique
The best lighting for real estate photography is soft, even, indirect daylight, shoot early morning or late afternoon, when the sun is low and diffused. Midday sun blasts hard shadows and blows out windows; overcast days are ideal, with the whole sky as one giant softbox.
Marcel Oliveira
Here's the workflow that separates a usable shot from a throwaway:
Turn on every light in the room, including lamps and under-cabinet strips
Open all blinds and curtains, and pull sheers aside
Match bulb color temperature so walls don't read yellow in one frame and blue in the next (a 2700K warm bulb next to a 5000K daylight bulb will always look wrong)
If a room is dark, don't crank the flash, bounce light off a white wall or ceiling. Direct flash flattens a room and creates hotspots on granite, stainless steel, and tile.
The Window Problem: How to Expose Interiors Without Blowing Out the View
This is the most common failure in rental listing photos: your camera can't hold detail in a bright window and a dim interior at once, the dynamic range is too wide. Three real options:
Bracket and blend. Take three to five exposures of the same frame, one metered for the window, one for the room, and one or two in between, then blend them in editing. This is the standard professional approach and works with any camera that has an auto-exposure-bracket (AEB) mode.
Use HDR mode on a phone. Most modern smartphones have an HDR or Smart HDR setting that does a simplified version of the same thing. It's not as clean as manual bracketing, but it's dramatically better than a single exposure.
Add light to the room, not the window. Bounce a speedlight or a portable LED panel off the ceiling to lift the interior until it's within range of the window. This is faster than bracketing but requires more gear.
Don't shoot a single frame and try to rescue it in editing, pulling shadows two stops introduces noise and muddies color.
Smartphone and Camera Settings That Fix Common Exposure Problems
On a smartphone, tap the brightest window to lock exposure, then drag the slider down slightly so windows don't turn into white rectangles. In manual or "pro" mode, drop ISO to its lowest native setting and let shutter speed stretch, the tripod makes that safe.
On a DSLR or mirrorless camera, use these starting points:
Mode: Aperture priority
Aperture: f/8 to f/11 for sharpness across the frame (f/16 and beyond softens the image through diffraction)
ISO: 100-400 to reduce noise
White balance: Daylight or auto, then correct in editing
Bracket whenever light is tricky: three exposures, dark, normal, bright, give you options a single frame never will.
Room-by-Room Shot List and Photo Order for Every Rental Listing
A consistent shot list keeps every listing looking like the same brand. Walk the unit in one direction and shoot in the same order every time.
Use this checklist:
Front exterior, straight on, from the street
Entryway or front door, open
Living room, wide shot from the doorway
Living room, second angle from the opposite corner
Interior, Exterior, and Neighborhood Shots That Renters Expect
Renters scroll fast. Lead with the shot that sells the home, usually the living room or exterior, then move through the property in a logical tour-like path.
Exterior shots should show the whole building, not a corner, include the street view, entry, and outdoor space. Neighborhood shots help renters picture the area, but keep them honest: a park three blocks away feels misleading if you don't say so in the description.
Real Estate Photography Mistakes That Sink Rental Listings
The most common real estate photography mistakes are clutter, bad light, and dishonest angles, each costs clicks and often trust.
Watch for these:
Toilets with the seat up
Trash cans, cleaning supplies, or pet bowls in frame
Dark rooms shot without turning on lights
Fish-eye distortion that makes walls bow
That last one is a legal problem, not just a marketing one. Misrepresenting a rental can violate state consumer protection laws and fair housing rules. The Federal Trade Commission's guidance on deceptive advertising applies to rental listings too.
Key Takeaway If a photo makes a unit look bigger, brighter, or newer than it is, fix the unit or fix the photo. Never fix the truth.
How Many Photos to Include in a Rental Listing (and How to Order Them)
Most rental listings perform best with 15 to 25 photos. Fewer than 10 and renters skip the listing. More than 30 and they stop scrolling.
Order matters as much as count. Here's a simple rule:
Position | What to Show | Why |
1 | Best hero shot (living room or exterior) | Stops the scroll |
2-4 | Main living spaces | Shows flow and size |
5-8 | Kitchen and bathrooms | Renters check these first |
9-14 | Bedrooms and closets | Confirms storage and layout |
15-20 | Outdoor space, parking, extras | Adds value |
21-25 | Neighborhood or building context | Sets expectations |
Keep the same order across every listing you post. Renters learn your pattern, and your brand looks consistent.
Editing, Virtual Staging, and Measuring Whether Your Photos Work
Editing should fix problems, not invent rooms. The goal: a photo that looks like the unit on its best, cleanest day, not a different unit.
A Restrained Editing Workflow
Work in this order, and stop when the image looks right:
Lens correction first. Apply the profile for your camera or phone. This removes the barrel distortion that makes walls bow and doorframes lean.
Straighten verticals. Use the transform or perspective tool to make vertical lines truly vertical. This is the single biggest visual upgrade you can make to an interior shot.
Exposure and shadow recovery. Lift shadows just enough to reveal detail in corners. If you're pulling more than about one stop, the original was underexposed, reshoot it.
White balance. Neutralize color casts so walls read as the color they actually are. A gray wall should look gray, not beige or blue.
Highlight recovery. Bring back window detail if you bracketed. If the window is pure white, you didn't bracket enough.
Sharpening and noise reduction last. Light touch. Over-sharpened interiors look crunchy and fake.
What you should not do: sky replacement, furniture removal, adding square footage, or stretching a room wider than it is. Those cross from editing into misrepresentation.
Virtual Staging: When It Helps and How to Disclose It
Virtual staging adds furniture to a photo of an empty room using software. It helps renters see scale and layout in a vacant unit, an empty room almost always photographs smaller and colder than the same room furnished.
It works best for:
Vacant units where you can't justify physical staging
Odd-shaped rooms where renters can't picture furniture placement
Model units and new construction
It works badly for:
Rooms with existing furniture (you're now editing around objects)
Any listing where the renter will tour in person and feel misled
Disclosure is not optional. The National Association of Realtors guidance on advertising recommends clear disclosure so renters aren't misled, and many listing platforms now require it.
How to Measure Whether Your Photos Are Actually Working
This is the part almost no rental listing guide covers, and the part that tells you whether the rest of this article mattered.
Pick three numbers and track them per listing:
Listing views, how many people opened the listing
Click-through or save rate, how many of those viewers clicked into details, saved, or shared
Inquiries per week, how many people actually reached out
Then read the pattern:
Pattern | What it means | What to change |
Low views | The hero shot or thumbnail isn't stopping the scroll | Reshoot the lead image; try the exterior or the brightest room |
High views, low saves | Photos aren't matching expectations once opened | Check photo order, are you leading with the weakest room? |
High saves, low inquiries | Photos are overselling the unit | Audit for angles that hide flaws; fix the unit or fix the honesty |
High inquiries, low tours | Photos and reality don't match | Reshoot to match the actual condition |
To test a specific change: run the listing with current photos for two weeks, swap the hero shot or photo order, run two more weeks, and compare inquiries per week. That's a real A/B test that costs nothing but time.
Conclusion: Turn Better Photos Into Faster Rentals
Better rental listing photos come down to prep, light, and honesty. Do those three well and the rest follows.
If you'd rather hand off the shoot, REimage Real Estate Media handles the whole process. We offer professional real estate photography, drone imagery, floor plans, and virtual staging, with next-day delivery and 24/7 online booking.
Book your next shoot with REimage Real Estate Media and get listing-ready visuals back fast.
Frequently Asked Questions
How many photos should a rental listing have?
Most rental listing platforms allow 20 to 35 photos, and filling that range works in your favor. A practical target is 25 to 30: one strong exterior shot, a living room, kitchen, each bedroom, each bathroom, plus any standout features like a patio, garage, or in-unit laundry. Lead with the most attractive room, and avoid repeating near-identical angles. Listings with a full, well-ordered photo collection give renters enough detail to decide whether to tour, which cuts down on wasted showings.
What is the best time of day to photograph a rental?
Shoot between mid-morning and early afternoon when sunlight enters most windows without blasting directly into the lens. For east-facing rooms, that means morning; west-facing rooms look best in the afternoon. Overcast days are actually ideal because the light is even and shadows stay soft. If you can only shoot at night, turn on every lamp and ceiling fixture, and avoid using a camera flash, which creates harsh hotspots on walls and windows.
Should I hire a professional photographer for a rental listing?
A professional shoot pays off when the rental is vacant, high-end, or competing in a tight market where several similar units are available. Pros bring wide-angle lenses, lighting gear, and editing that make rooms look accurate and inviting. For a basic unit that already has strong natural light, a smartphone with good settings can work if you follow a shot list. Many property managers use a hybrid approach: professional photos for flagship units and consistent DIY photos for the rest.
What are common mistakes in real estate photos?
The most damaging real estate photography mistakes are shooting with a tilted camera that makes walls lean, using a flash that washes out color, leaving clutter, personal items, or tenants' belongings in frame, and posting dark or blurry images. Other frequent problems include toilets with lids up, cars in the driveway, and photos that exaggerate room size. Renters notice these details, and a listing that looks misleading or careless loses inquiries before a showing is ever scheduled.
BOOK NOW

Comments