How to Prepare Property for Photography: 7-Step Guide

Table of Contents
How to Prepare Property for Photography: A Room-by-Room Plan
A Realistic Two-Day Timeline
Your Real Estate Photography Checklist: What to Do Before the Shoot
Whole-Home Tasks
Room-Specific Tasks
How to Stage a House for Photos Without Overdoing It
Furniture Arrangement and Room Flow
Real Estate Photo Shoot Preparation for Occupied, Rented, and Pet-Friendly Homes
If You Are the Owner and You Live There
If the Home Is Rented or Tenant-Occupied
Pets
Children and Shared Spaces
For Property Managers With Multiple Units
Exterior, Seasonal, and Weather Preparation
Safety, Privacy, and Valuables Before the Photographer Arrives
Photography-Specific Preparation for Every Deliverable
Interior Stills
Exterior and Drone
Floor Plans
Virtual Staging
Listing Video and Walkthroughs
3D Tours and Matterport-Style Scans
Shooting Multiple Deliverables in One Visit
Frequently Asked Questions
Last Updated: October 12, 2026
How to Prepare Property for Photography: A Room-by-Room Plan
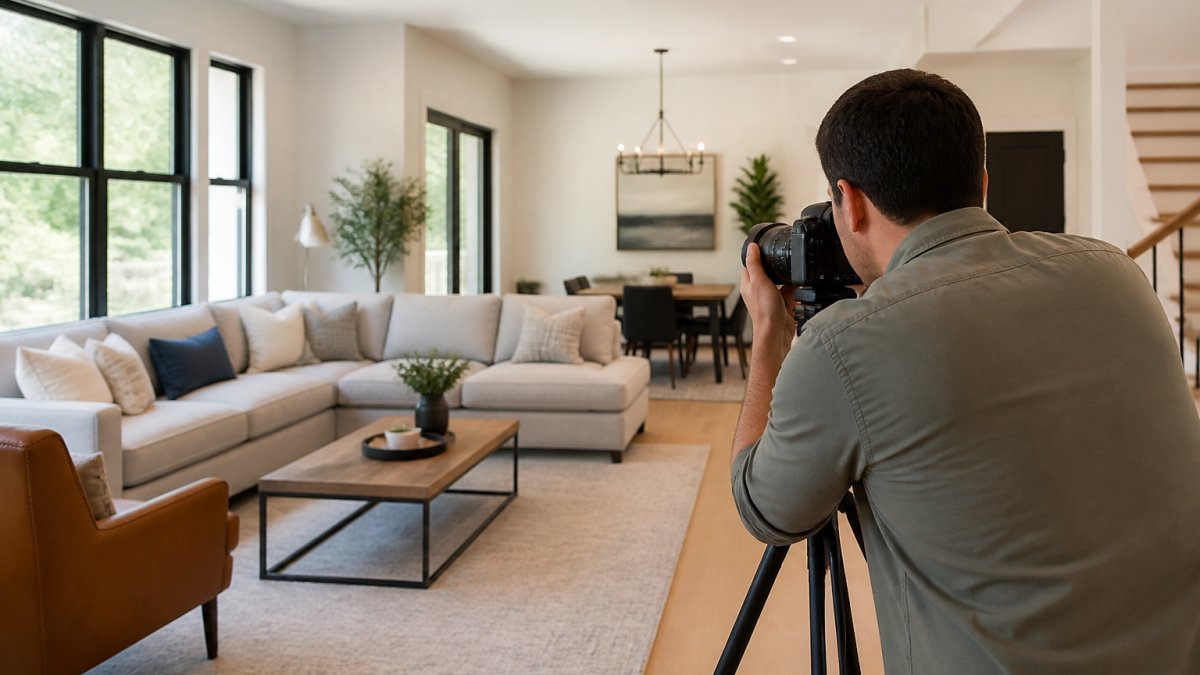
Most listings live or die on their first photo. Learning how to prepare property for photography is the highest-return hour you will spend on any listing.
We shoot listings every day, and we see the same pattern: small fixes change everything.
Here is the good news. You do not need a big budget. You need a plan and a few hours.
A Realistic Two-Day Timeline
Two days is enough for almost any home. Day one handles the heavy work: decluttering, deep cleaning, and repairs. Day two handles the finishing touches: staging, lighting, and a final walkthrough.
Spread the work like this:
When | What to Do | Time Needed |
Day 1 morning | Declutter and remove personal items | 2-3 hours |
Day 1 afternoon | Deep clean rooms, kitchen, and bathrooms | 3-4 hours |
Day 2 morning | Arrange furniture and set up lighting | 1-2 hours |
Day 2 afternoon | Final walkthrough and photographer prep | 30-60 minutes |
The National Association of Realtors home staging profile notes that most buyers start their search online, so the photos are often the first showing. That is why this timeline matters.
Pro Tip Schedule your shoot for mid-morning or late afternoon. Those windows give the softest natural light, and you will not be fighting harsh shadows from overhead sun.

Your Real Estate Photography Checklist: What to Do Before the Shoot
A real estate photography checklist keeps you from missing the small stuff that shows up big on camera. Work through the whole-home tasks first, then move room by room.
Whole-Home Tasks
Remove family photos, mail, and personal paperwork
Clear countertops, coffee tables, and nightstands
Take out trash and hide bins, cords, and chargers
Room-Specific Tasks
Kitchen: Clear the fridge front, stow small appliances, and shine the sink
Bathrooms: Clear the vanity, close toilet lids, and hang fresh towels
Bedrooms: Make beds, fluff pillows, and clear under-bed clutter
Watch Out Do not leave a single personal item on a nightstand or bathroom vanity. Even one bottle of shampoo reads as clutter in a wide shot and pulls the buyer's eye away from the room.
How to Stage a House for Photos Without Overdoing It
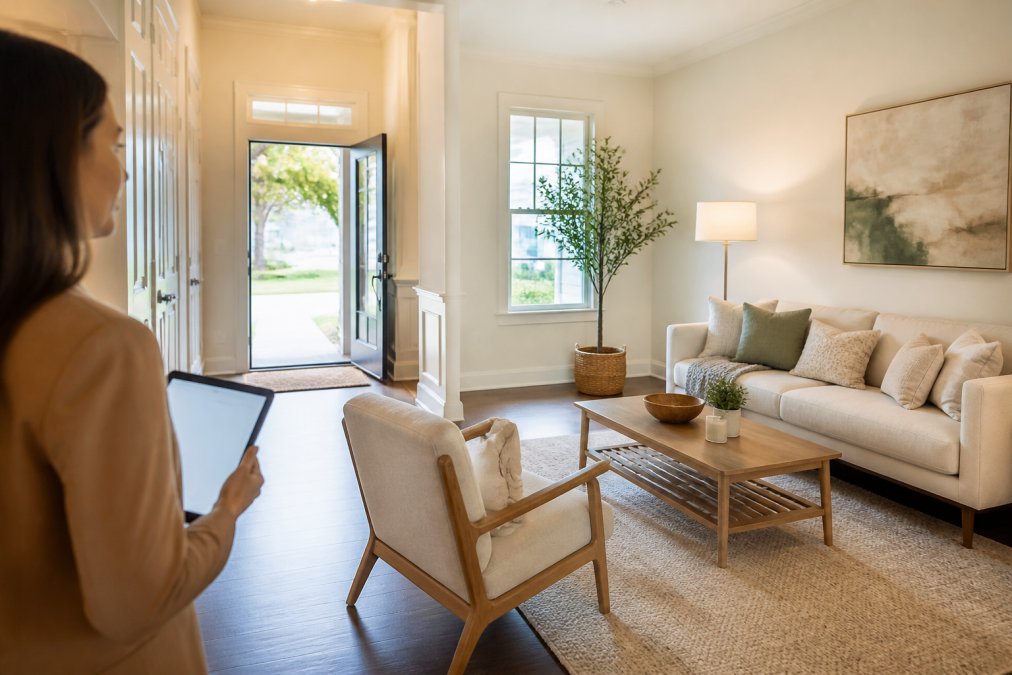
Staging works best when it looks like no one staged it. The goal is neutral, welcoming spaces, not a showroom. Buyers should picture themselves living there, not admire your decor choices.
Scott Prokop | RE Media Systems
Keep these rules in mind:
Stick to neutral decor and remove bold personal taste
Leave some open space so rooms feel larger
Add one or two simple touches, like a bowl of fruit or fresh flowers
Furniture Arrangement and Room Flow
Furniture arrangement decides how a room reads on camera. Pull pieces slightly away from walls and create clear paths. Good room flow makes a space feel open and easy to move through.
A common mistake is crowding. Fewer pieces almost always photograph better than more.
Real Estate Photo Shoot Preparation for Occupied, Rented, and Pet-Friendly Homes
Occupied homes are the norm, not the exception, and they need a plan that accounts for people who still have to live there. The goal is to shrink the disruption to a few hours while still getting clean frames.
If You Are the Owner and You Live There
Work backward from the shoot time. A common pattern that works well:
Seven days out: Confirm the shoot window in writing, including the arrival time and an estimated duration. Most interior shoots run 60-90 minutes for a typical single-family home; larger homes, drone work, and video walkthroughs push past two hours.
The night before: Do the heavy decluttering and cleaning so shoot day is only finishing touches. Pack a single "go bag" per person with toiletries, medications, chargers, and anything you need for the day.
Shoot day: Plan to be out of the home, or confined to one room the photographer has agreed to skip. Movement in a room during a long exposure or a video walkthrough ruins the shot, and re-shooting costs everyone time.
If the Home Is Rented or Tenant-Occupied
Landlords and property managers generally need to follow state and local notice rules before entering an occupied unit, and many leases add their own notice period on top of that.
A short, specific ask gets better cooperation than a vague one. Something like: "Photographer arrives Tuesday at 10 a.m. for about 90 minutes. Please clear countertops, make beds, put pet items and toys away, and open all blinds.
Pets
Pets are the single most common cause of a re-shoot. Options, in order of preference:
Board them or take them to a friend's house for the full shoot window, including buffer time.
Crate them in a room that is not being photographed and put a note on the door so the photographer does not open it.
Walk them if the shoot is short and the weather cooperates.
Before the photographer arrives, do a full sweep for pet items: beds, bowls, crates, litter boxes, toys, leashes, hair on furniture, and nose prints on windows and glass doors. Vacuum again on shoot day even if you vacuumed the night before, pet hair shows up sharply against dark floors and upholstery.
Children and Shared Spaces
Kids' rooms photograph better when they read as bedrooms, not playrooms. Store the bulk of toys in bins and closets, keep one or two neutral items on a shelf, and remove anything with a name, school, or team logo.
If a family member needs to remain in the home, agree in advance on which rooms are off-limits and mark those doors with a small piece of painter's tape so the photographer knows not to open them.
For Property Managers With Multiple Units
Build one standard prep sheet you reuse for every listing, with a tenant notice template, a pet plan, and a room-by-room checklist. Standardizing the process cuts prep time per unit and reduces the chance that a single missed item forces a return trip.
Pro Tip Ask the photographer to shoot the most important rooms first. If a child, pet, or tenant needs to leave by a certain time, front-loading the critical shots protects the deliverable even if the back half of the shoot gets rushed.
Exterior, Seasonal, and Weather Preparation
Curb appeal sells the first photo. Mow the lawn, rake leaves, and clear the entryway. Put away hoses, tools, and trash cans.
Season and weather change your prep list:
Spring and summer: Trim hedges and water the lawn
Fall: Rake leaves and clear gutters
Winter: Shovel walks and clear snow from the driveway
Check the forecast before your shoot. Overcast days can actually help, since they cut harsh shadows. As documented in FEMA guidance on preparing property for weather events, clearing walkways and entryways also keeps the property safe for anyone walking the grounds.
Safety, Privacy, and Valuables Before the Photographer Arrives
Protect what matters before anyone walks in with a camera. Lock away jewelry, cash, and small valuables. Remove anything with a name, address, or account number on it.
Privacy is a real concern for occupied homes. Ask the photographer to avoid shots that reveal personal details, and confirm which rooms are off-limits. A quick walkthrough with the photographer at the start saves everyone time.
Photography-Specific Preparation for Every Deliverable
Prep is not one-size-fits-all. A still photo hides what a video walkthrough exposes, and a 3D tour exposes what both of them miss. If you know what is being shot, you can prep once and cover all of it.
Interior Stills
Stills are forgiving of movement but unforgiving of clutter and reflections. Priorities:
Clear every horizontal surface, counters, tables, nightstands, dressers, shelves.
Wipe mirrors, glass, and glossy appliance fronts until streak-free. A smudge that is invisible in person reads clearly in a wide shot.
Turn on every light and replace dead bulbs. Mixed color temperatures (warm and cool bulbs in the same room) show up as an odd color cast.
Exterior and Drone
Drone and exterior shots are usually captured first, before the sun gets harsh, so have the outside ready before the photographer arrives.
Move vehicles off the driveway and out of the street view.
Put away hoses, tools, trash cans, recycling bins, and yard toys.
Close garage doors and clear the apron in front of them.
Floor Plans
Floor plans require physical access, not just visual access.
Every interior door must open fully, including closets and utility rooms.
Clear a walking path through every room; boxes and furniture blocking a doorway can force the photographer to guess at dimensions.
If a room is locked or off-limits, tell the photographer before the visit so the plan can be marked accordingly rather than left incomplete.
Virtual Staging
Virtual staging works best on empty or lightly furnished rooms. If the room is empty, leave it empty, do not add temporary furniture that will conflict with the staged version. If the room has some furniture, keep it minimal and neutral so the virtual pieces can be placed without a visual clash.
Listing Video and Walkthroughs
Video is the most demanding format because it captures motion, sound, and every angle.
Plan a walking path and clear it of cords, rugs that bunch, and anything on the floor.
Silence distractions: turn off TVs, fans, and anything that hums. Many walkthroughs are shot with ambient audio.
Hide cords and chargers that would be cropped out of a still but appear in a moving frame.
3D Tours and Matterport-Style Scans
3D tours stitch together many captures, so anything that moves or reflects can create artifacts.
Remove or secure pets and people from every room being scanned; movement creates ghosting in the final tour.
Turn off ceiling fans and any moving decor.
Minimize mirrors and glossy surfaces where possible, or accept that the scan will show the camera rig reflected in them.
Shooting Multiple Deliverables in One Visit
If you are booking stills, video, and a floor plan together, prep for the most demanding format and the rest will be covered. In practice that means: clear floors, hide cords, silence the house, and treat every room as if it will be walked through on camera, because it will be.
Key Takeaway Prep once for the strictest deliverable on the list. If video and a 3D tour are on the schedule, the still photos will take care of themselves.
Frequently Asked Questions
What should I remove from a room before listing photos?
Remove personal items first: family photos, medications, mail, pet items, and children's toys. Then clear surfaces on nightstands, coffee tables, dining tables, and bathroom vanities. Take down floor mats and runners, and tuck away visible cords. Kitchen countertops should hold no more than one or two small appliances. The goal is uncluttered spaces that let buyers see the room itself, not your belongings.
Should I turn on the lights before real estate photos?
Yes. Turn on every light and check bulbs. Replace any burned-out or mismatched bulbs with the same color temperature so the photographer does not have to fix mixed lighting in editing. Open all curtains and blinds to maximize natural light, but pull heavy drapes back so they do not block windows. Well-lit rooms photograph brighter and feel larger to buyers browsing listing photos.
How long does it take to prepare a home for a photography shoot?
Plan on two days for a typical home. Day one handles decluttering, deep cleaning, and minor repairs. Day two covers staging details, furniture arrangement, and a final walkthrough. A smaller, already-tidy home can be ready in one day. If the home is occupied, rented, or shared with pets and children, add extra time to coordinate access and clear each room before the photographer arrives.
How clean does a house need to be for real estate photos?
Clean enough that no surface distracts from the room. That means spotless kitchen countertops and appliances, a clear bathroom vanity, mirrors wiped streak-free, and floors free of debris. You do not need a deep clean of closets or storage areas that will not appear in photos. Focus your effort on the rooms and surfaces the camera will actually capture, and do a quick pass right before the shoot.
Preparing a property for photography takes planning, and a rushed shoot shows in every frame. REimage Real Estate Media makes it easy to get it right the first time. We offer 24/7 online booking, next-day delivery, a free basic 2D floor plan with every order, and full media services including drone photography and virtual staging. Get started with REimage Real Estate Media and give every listing the visuals that attract more buyers.
BOOK NOW

Comments